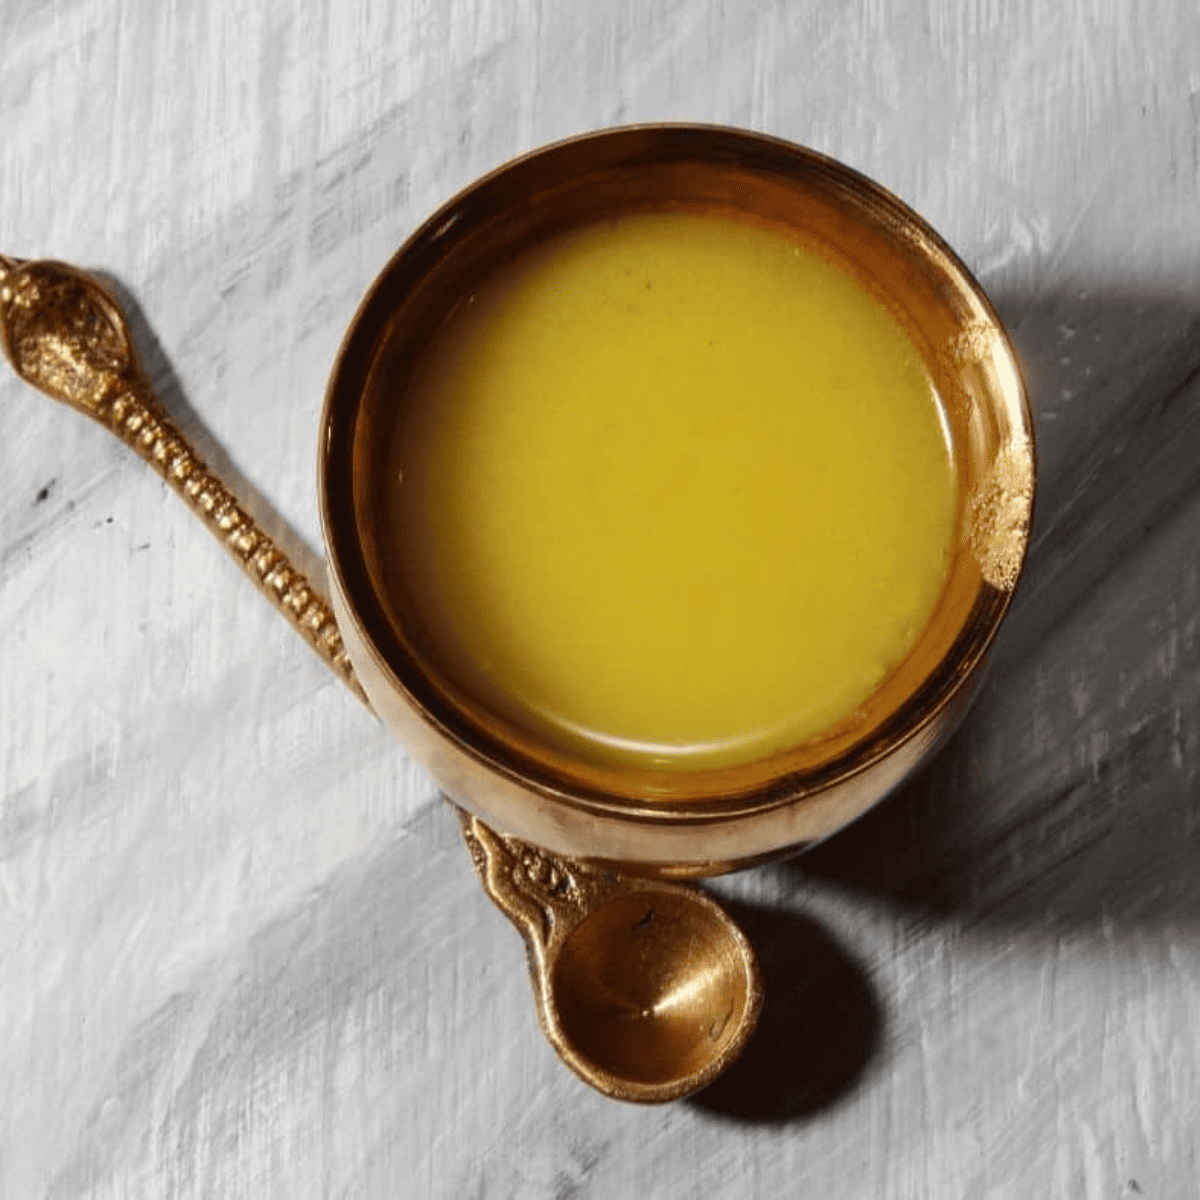
Instant Pot Homemade Ghee — The Instant Pot Homemade Ghee is a delicious, healthy cooking staple. It’s also an excellent natural source of fat to use for high-temperature frying and sautéing. You’ll love the flavor!
This stuff is so amazing! I went to Whole Foods over the weekend to purchase some, and it was pretty expensive. So, I came home and made my own. In less than 10 minutes, you can have a batch of Instant Pot Homemade Ghee!
This recipe is perfect if you are following a low-carb, KETO, Whole30, or Paleo lifestyle.
If you have never made ghee before, the Ninja Foodi or instant pot is the perfect place to make it!
Easy and delicious!
Then use you can use it as a butter or oil replacement. Since it has a high smoking point, you can also use it for air frying!
What Is Ghee?
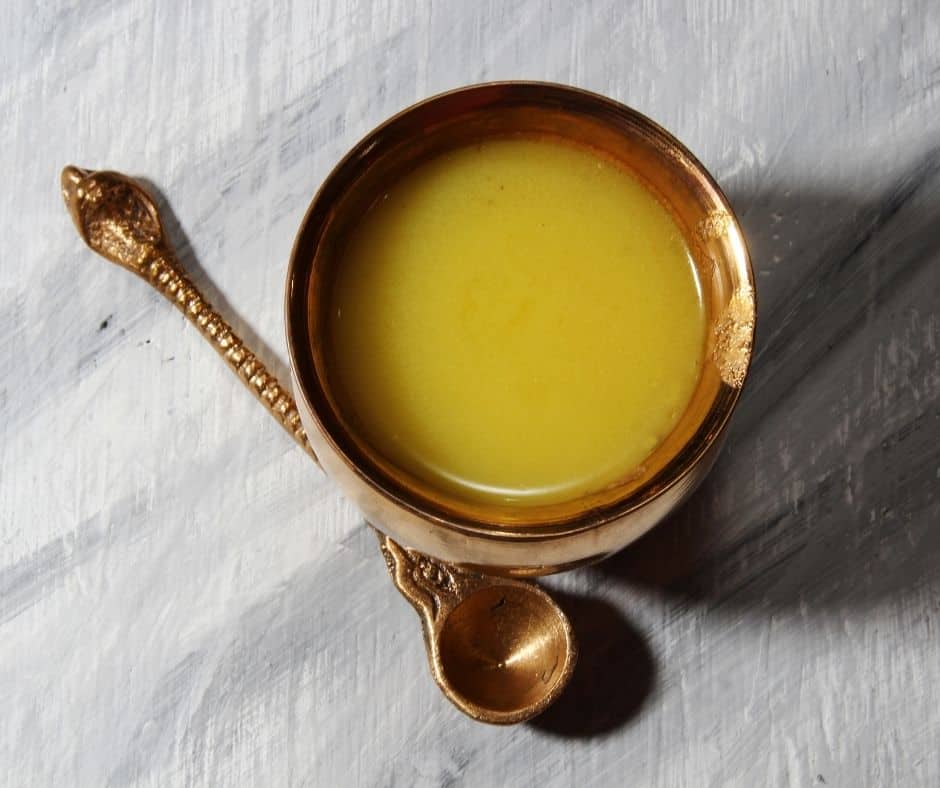
Ghee is a form of clarified butter, which means that all the milk solids have been removed. It’s made by simmering butter until it separates into three layers: water, milk solids, and fat. The water evaporates first, and then the milk solids sink to the bottom. Once they’re skimmed off with a spoon or spatula, you’re left with pure golden-yellow ghee on top, ready for use in cooking or as an ingredient in other dishes! Ghee has a higher smoke point than regular butter, so it stays clear when heated up – perfect for frying eggs without getting too browned on the outside before being cooked through on the inside! Now you know what ghee is!
Why homemade ghee?
Truthfully, it’s so easy and economical to make, and this is a perfect way to make a whole batch and save a lot of money in the meantime.
Store-bought ghee can be found at Amazon, for anywhere from 15 dollars, to $25 since all you need is butter and a pressure cooker. It’s too easy and cheap not to make!
Why Make Ghee In The Instant Pot?
Cooks have discovered that making ghee in the Instant Pot is a great way to get rich, buttery flavor without all of the dairy fat. Ghee is made by boiling butter until the milk solids separate and then simmering it until the water evaporates, leaving behind pure butterfat. This process can be done in about 20 minutes in the Instant Pot, compared to an hour or more on the stovetop. Plus, because the Instant Pot is a closed system, there’s no need to constantly stir the ghee or watch it closely to make sure it doesn’t burn. So why not give this easy cooking method a try? You might just love it!
Ingredients Needed For Instant Pot Ghee
- Unsalted Butter, Kerrygold Irish Butter
How To Make Instant Pot Homemade Ghee
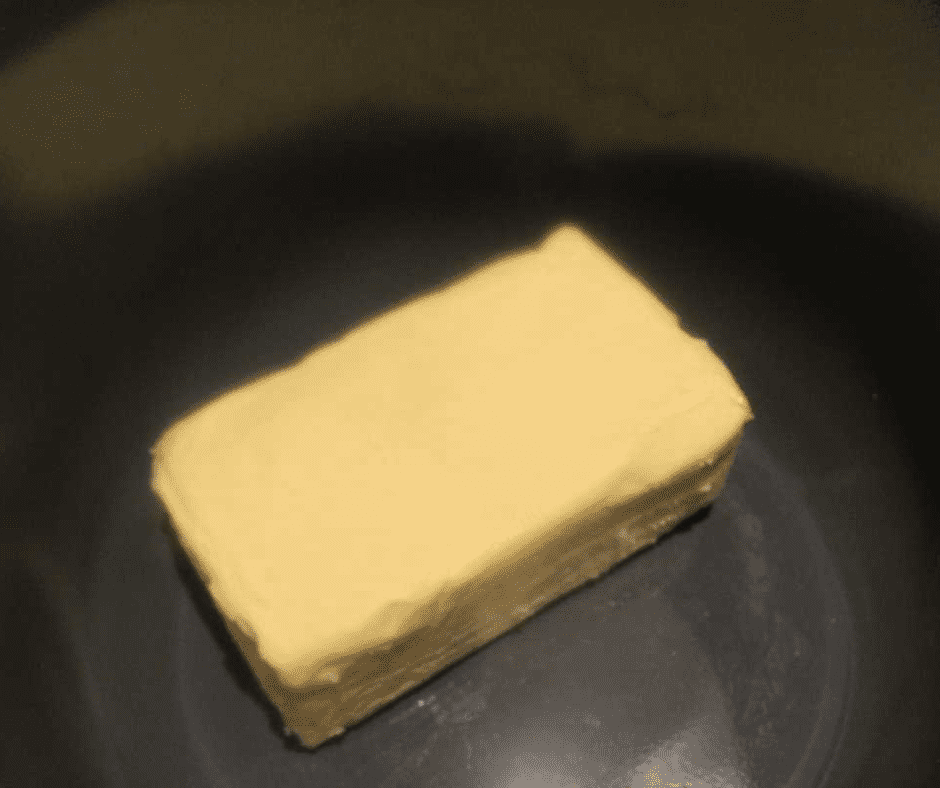
Add your butter to the Instant Pot Bowl.
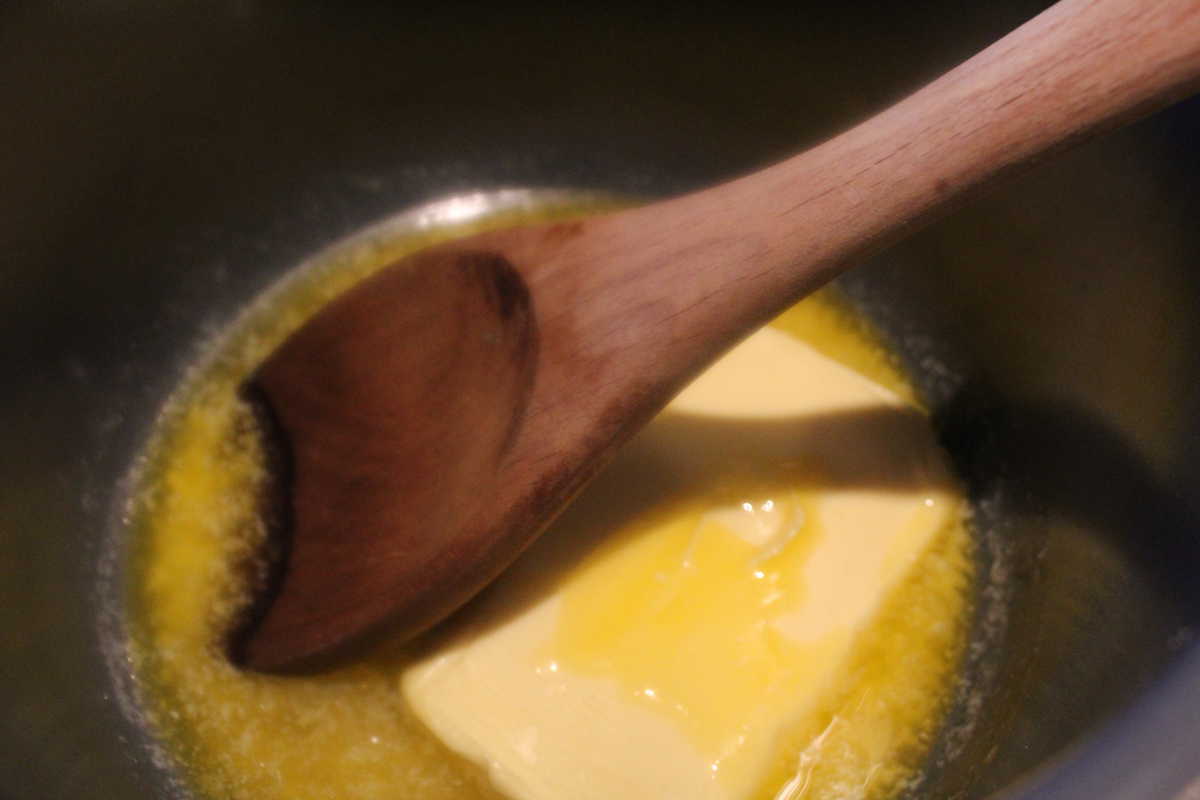
Saute the butter, and keep on stirring, it will start to froth, keep on stirring until it turns almost brown. But remember to stir. Otherwise, it will burn,
Pro Tips
Making ghee in an Instant Pot is a streamlined process that results in a rich, nutty, clarified butter perfect for various recipes. Here are some pro tips for making the best Instant Pot Ghee:
-
Choose Quality Butter: Start with high-quality, unsalted butter for the best flavor. Organic or grass-fed butter often yields superior results.
-
Monitor the Cooking Process: Ghee can go from perfect to burnt quickly. Stay close to your Instant Pot during cooking to ensure the butter doesn’t burn.
-
Skim Off the Solids: Use a spoon to remove the milk solids that float to the surface carefully. Removing these solids helps to prevent the ghee from burning.
-
Strain Carefully: When the ghee is done, use a cheesecloth or a fine mesh strainer to remove all the remaining milk solids.
-
Store Properly: Store your ghee in a clean, dry jar with a tight-fitting lid. Ghee doesn’t need to be refrigerated and can last up to a year if stored properly.
-
Use a Glass Lid: If you have a glass lid for your Instant Pot, use it for making ghee. It’s unnecessary to pressure cook the ghee, and the glass lid allows you to monitor the process more closely.
-
Cool Completely: Allow your ghee to cool completely before placing the lid on the jar to prevent condensation, which could cause the ghee to spoil.
-
Experiment with Flavors: Once you’re comfortable with making plain ghee, try adding flavors like garlic, rosemary, or vanilla for a different twist.
Remember, ghee is a type of clarified butter that’s been cooked a bit longer to give it a nutty flavor. It’s commonly used in Indian cooking and is popular for people following a Paleo or Whole30 diet because it’s free of milk proteins.
How to store homemade ghee?
Ghee can be used for all your cooking needs and can last in an airtight container at room temperature for 4 to 6 or more without spoiling. You can also refrigerator ghee for about a year.
Use a mason jar (clean and dry) to store your ghee, making it easier to use.
What to do with the milk solids collected in the strainer?
Discard anything left in the strainer.
Is my ghee burnt?
Ghee can turn out looking much darker than you might expect. This is because as it cools and starts to solidify, the color will get lighter over time! So don’t panic if your ghee looks dark.
What kind of butter should I use to make ghee?
It’s best to use unsalted butter when making ghee. Organic or grass-fed butter tends to yield a better flavor and quality ghee.
Can I use salted butter to make ghee?
While you can use salted butter, it might leave a residual salty flavor in your ghee. It’s best to use unsalted butter for a pure ghee flavor.
How long does homemade ghee last?
If stored properly in a cool, dry place and in an airtight container, homemade ghee can last up to a year.
Do I need to refrigerate my ghee?
No, ghee does not need to be refrigerated. In fact, it’s best stored at room temperature in a cool, dark place.
What can I use ghee for?
Ghee can be used in place of most cooking oils and butters. It’s excellent for sautéing, frying, roasting, and even baking. It imparts a rich, nutty flavor to dishes.
Why is my ghee a dark color?
If your ghee is a dark color, it may have been cooked a bit too long. Ghee should be a golden color. To prevent this next time, monitor the cooking process closely and remove it from heat as soon as it turns golden.
What’s the difference between ghee and clarified butter?
Both ghee and clarified butter involve removing the milk solids from butter. The difference lies in the cooking process. Ghee is cooked longer to bring out a nutty flavor and is typically strained more than once to remove all the milk solids.
More Instant Pot Recipes
- INSTANT POT CHICKEN BROCCOLI AND RICE
- INSTANT POT SOUTHERN DEVILED EGGS
- EASY INSTANT POT ELDERBERRY SYRUP
- INSTANT POT ITALIAN WEDDING SOUP
- INSTANT POT PORK CHOPS IN MUSHROOM GRAVY
- EASY INSTANT POT PORK FRIED RICE
- INSTANT POT CRACK CHICKEN
DON’T FORGET TO PIN:
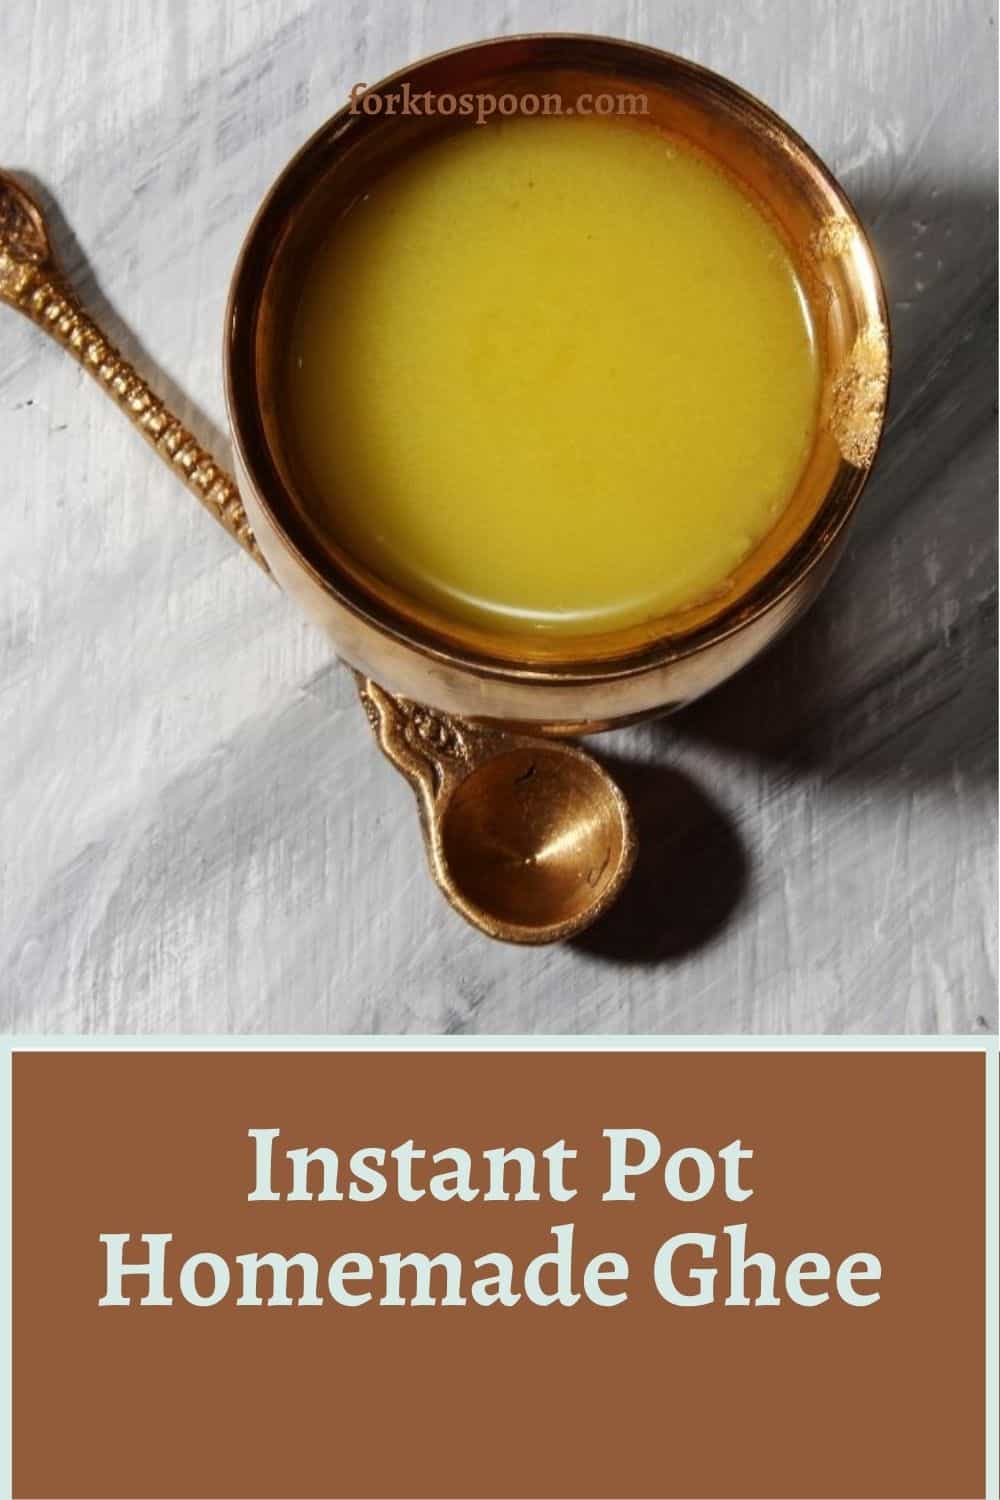
Instant Pot Homemade Ghee
Description
Ingredients
- 12 ounces Kerry Gold Butter
Instructions
- Add the butter to the Instant Pot.
- Then press the saute’ button until it’s melted, continue to saute until the liquid starts to brown, then immediately remove from heat.
- Then immediately strain the ghee using a cheesecloth.
- Then place it in a glass mason jar, and leave it on the counter until it cools.
- Then add the lid.
- You can either refrigerate this or store it in a cabinet until ready to use.
Equipment
- Instant Pot
Nutrition
Share this recipe
We can’t wait to see what you’ve made! Mention @forktospoon or tag #forktospoon!